

NICECNC-DE
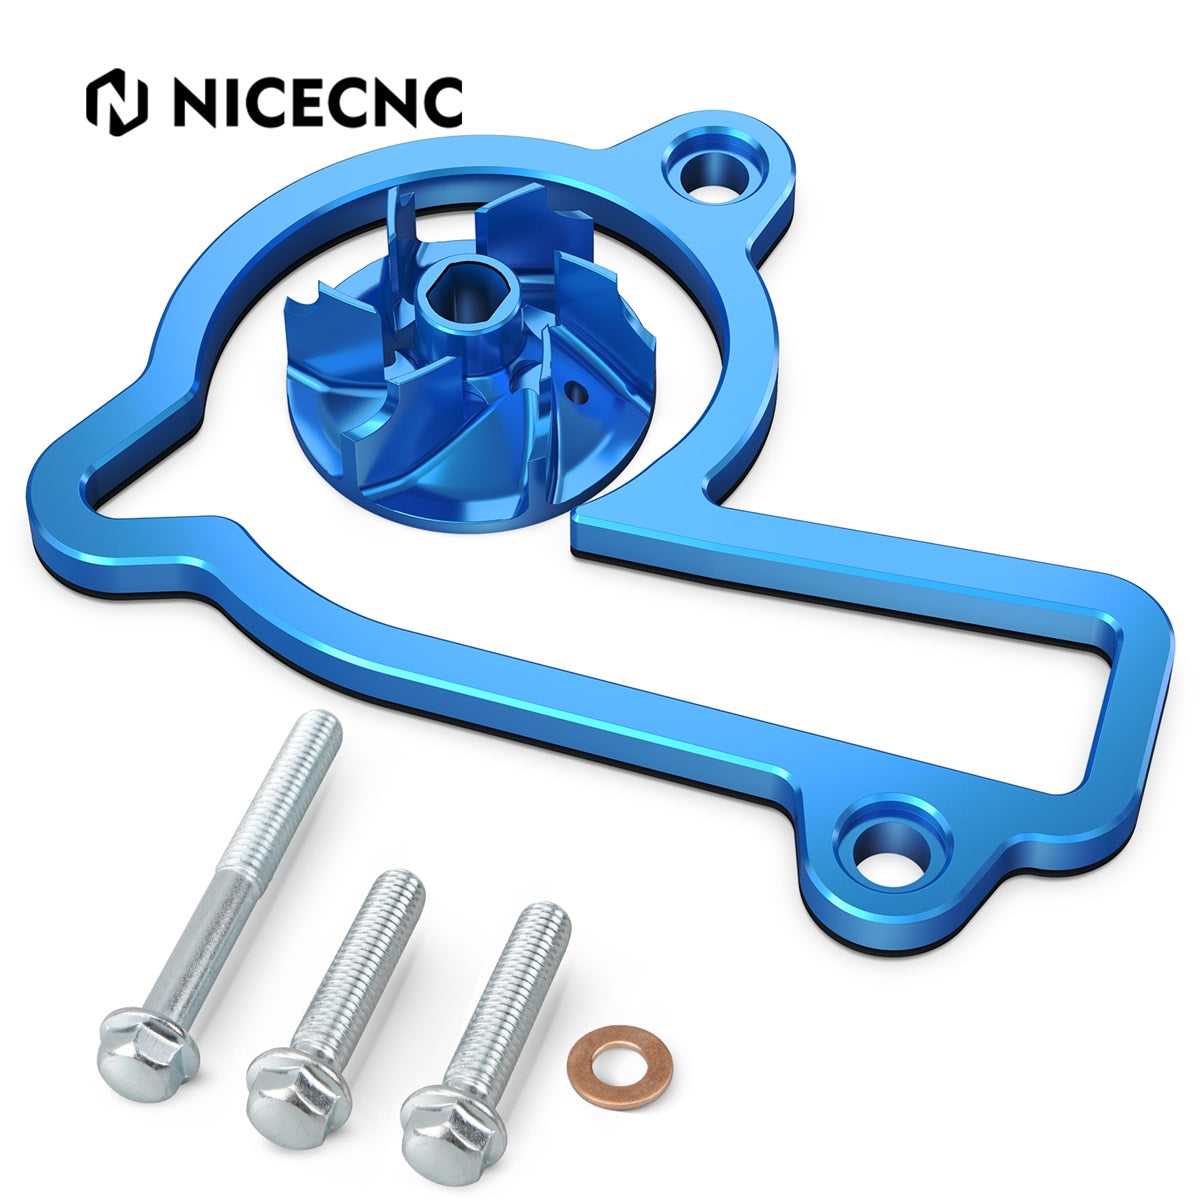
Water Pump Cooler Impeller Spacer For KTM 250 350 EXC F Husqvarna FC FX FE GAS GAS 2024
15 % Rabatt ab 2 Teilen, Code:MX15 Code kopieren
18 % Rabatt ab 3 Teilen, Code:MX18 Code kopieren
Choose options
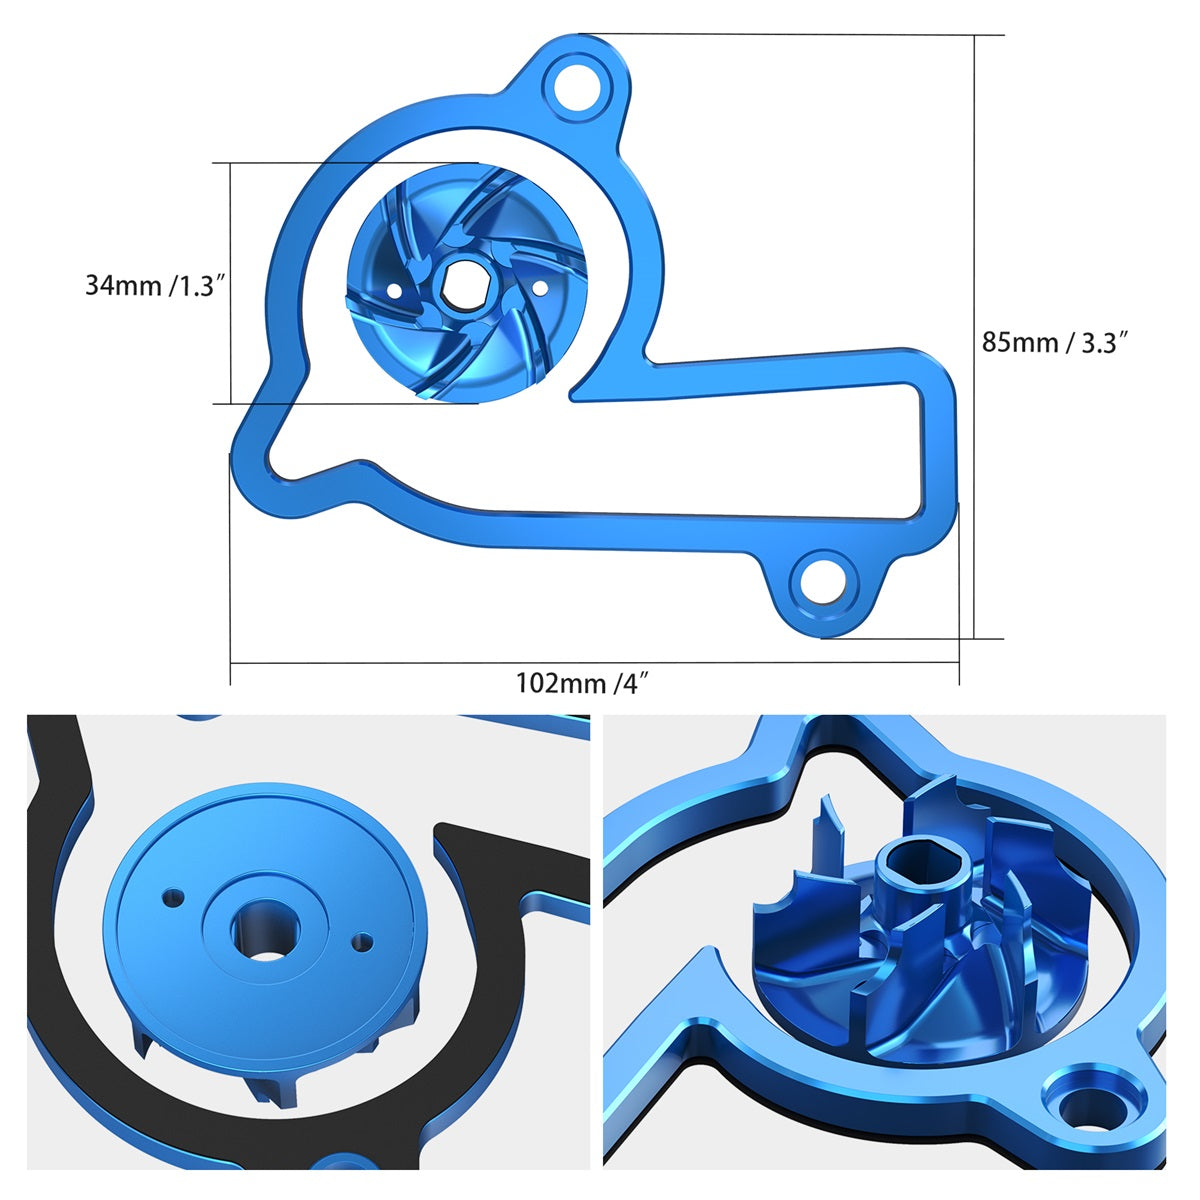
- 【High Flow】The oversized impeller and raised base are designed to deliver more fluid at the same engine speed to improve heat exchange.
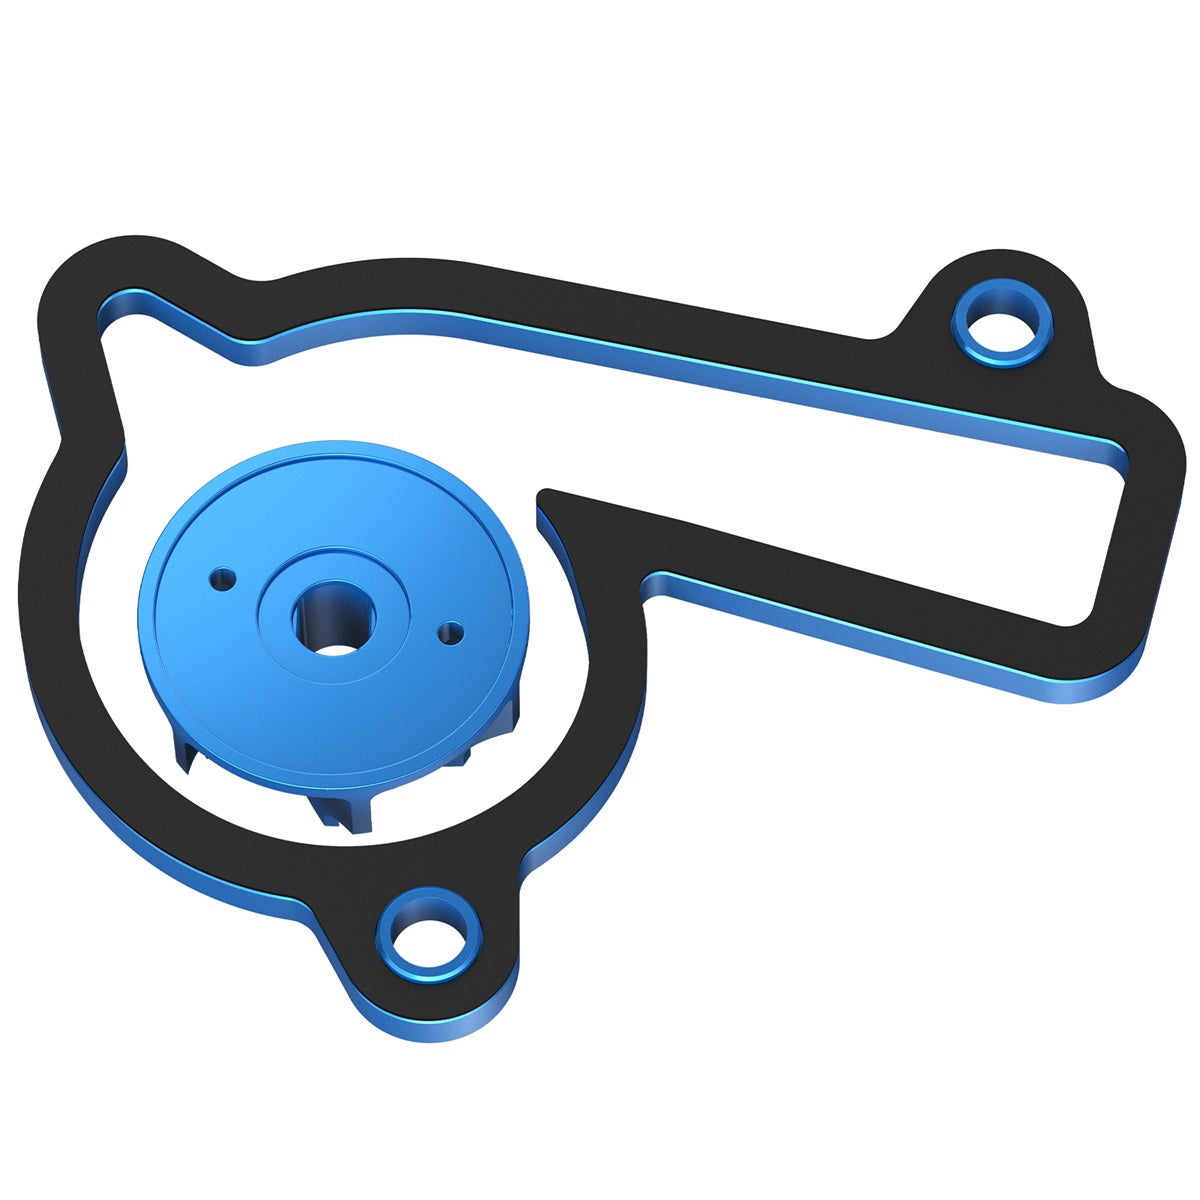
- 【Fast-cooling Aluminum Spacer】Increase coolant volume and maximize cooling surface with 6061 aluminum spacer, effectively preventing overheating and reducing your cooler’s activation. Your motorcycle’s potential can be fully utilized with the combination of the aluminum spacer and the improved impeller.
- 【Durable Vanes】The vanes are made of high-strength 6061 aluminum, super sturdy and not easy to deform.
- 【Dynamic Look】Anodized surface for enhanced aesthetics and rust resistance. Ride your beloved bike with pride.
- 【CNC Technology】Cut with the latest generation CNC technology to ensure high precision for a perfect fit.
- Brand: NICECNC
- Condition: 100% brand new
- Material: Billet aluminum
- Processing: CNC machined
Installation instructions:
✅ 1. Clean contact surfaces: Before installing the gasket, thoroughly clean the contact surfaces of the water pump and engine housing to ensure: • No oil, dust, or sealant residues. • Remove residues with a clean cloth or scraper and wipe the surface dry and residue-free with a degreaser.
🔹 Purpose: To prevent sealing defects and ensure sealant adhesion.
✅ 2. Apply PTV Engine Sealant Evenly • Apply a thin, even layer of PTV engine sealant on both sides of the gasket. • Avoid excessive application of sealant as this can cause: • Poor sealing • Sealant overflow, making later disassembly difficult.
🔹 Note: Use specification-compliant PTV sealant to ensure high temperature resistance, sealing protection, and long-lasting sealing performance.
✅ 3. Proper Installation and Tightening • Align the gasket precisely with the applied sealant between the water pump and engine. • Tighten the screws according to the manufacturer's torque specifications to ensure even compression.
⚠️ Caution: • Avoid overtightening as this can cause: • Damage to the gasket • Deformation of the contact surface, impairing the seal.
✅ 4. Curing Time • Allow the sealant to cure undisturbed after assembly. • Follow the sealant instructions for curing time to ensure optimal sealing performance before starting the engine.
🔹 Tip: Avoid moving or disassembling the parts during the curing process.
✅ 5. Safety Instructions • Wear protective gloves during assembly to avoid skin contact with sealant. • Work in a well-ventilated area to avoid inhaling volatile gases. • Use a special cleaner or alcohol to remove excess sealant and keep the contact surface clean.